
A couple of months ago, I finally set out to get the Sparkfun 9DOF stick working (3D acceleration sensor, gyroscope and magnetic flux sensor/compass: 3 x 3 = 9). I got it from my father for my birthday a couple of years ago. I used my new Raspberry Pi 2 to connect to it.
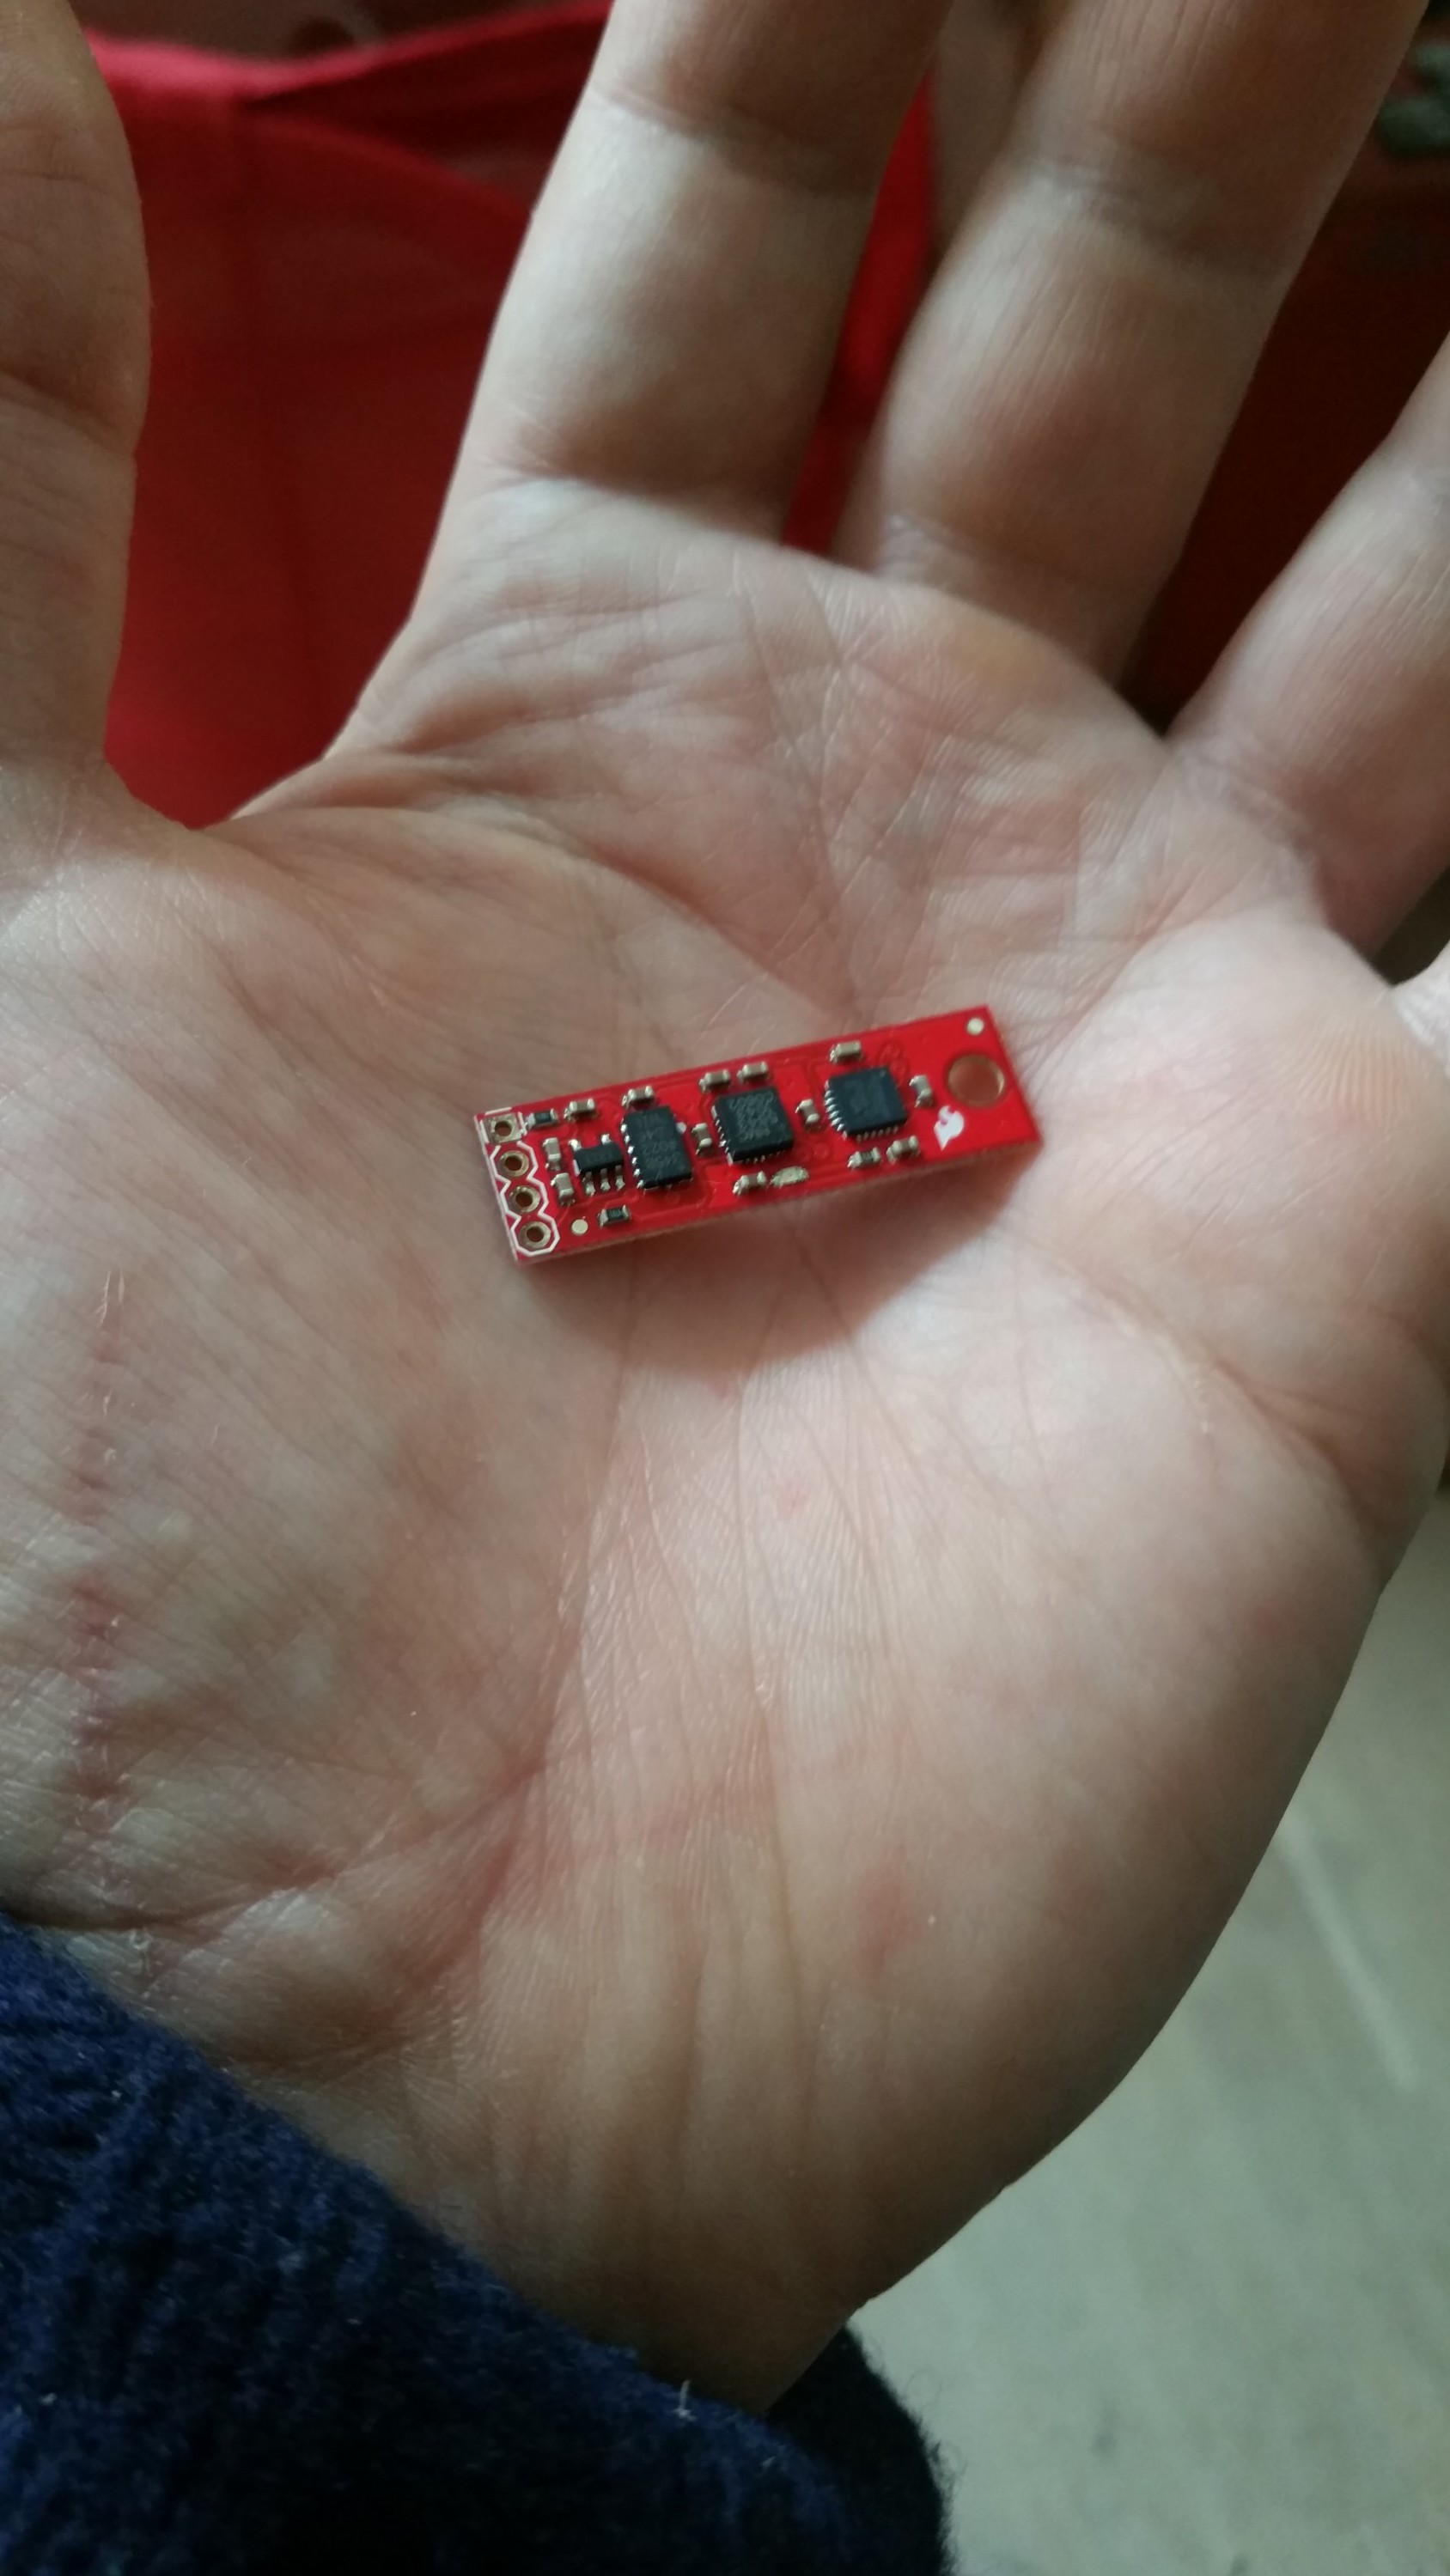 Here’s the stick
As you can see, it’s quite small and has the following IC’s on it:
- Acceleration: ADXL345
- Gyroscope: ITG3200
- Magnetic: HMC5843
All three can run on a 3.3V power supply and are connected together on an I2C bus. Both the supply line and the bus are broken out to the holes on the left.
Hurdle #1: My raspberry pi has a fan and RTC board connected to it: PiCoolFan. The RTC on this board is the fairly common DS1307. The default I2C address of this chip is 0x68, which happens to be the same as the address of the ITG3200 gyroscope. How unfortunate. Four IC’s on 128 available addresses and we got a collision. Not as unlikely to happen as one would expect though 😉
The ITG3200 has an option to use address 0x69 by pulling up pin 9, however I didn’t feel like soldering on the extremely small pins on this board –it would have been nice if @sparkfun would have added a dip switch for this–. The RTC chip should have a programmable address, but I didn’t –at least not quickly– manage to both do the change and have the linux rtc_ds1307 driver use this alternate address. So I decided to go the long way round by using the Pi’s second I2C bus for connecting to the stick. The second bus is disabled by default, but it can be enabled by adding
dtparam=i2c_arm=on
dtparam=i2c_vc=on
to /boot/config.txt
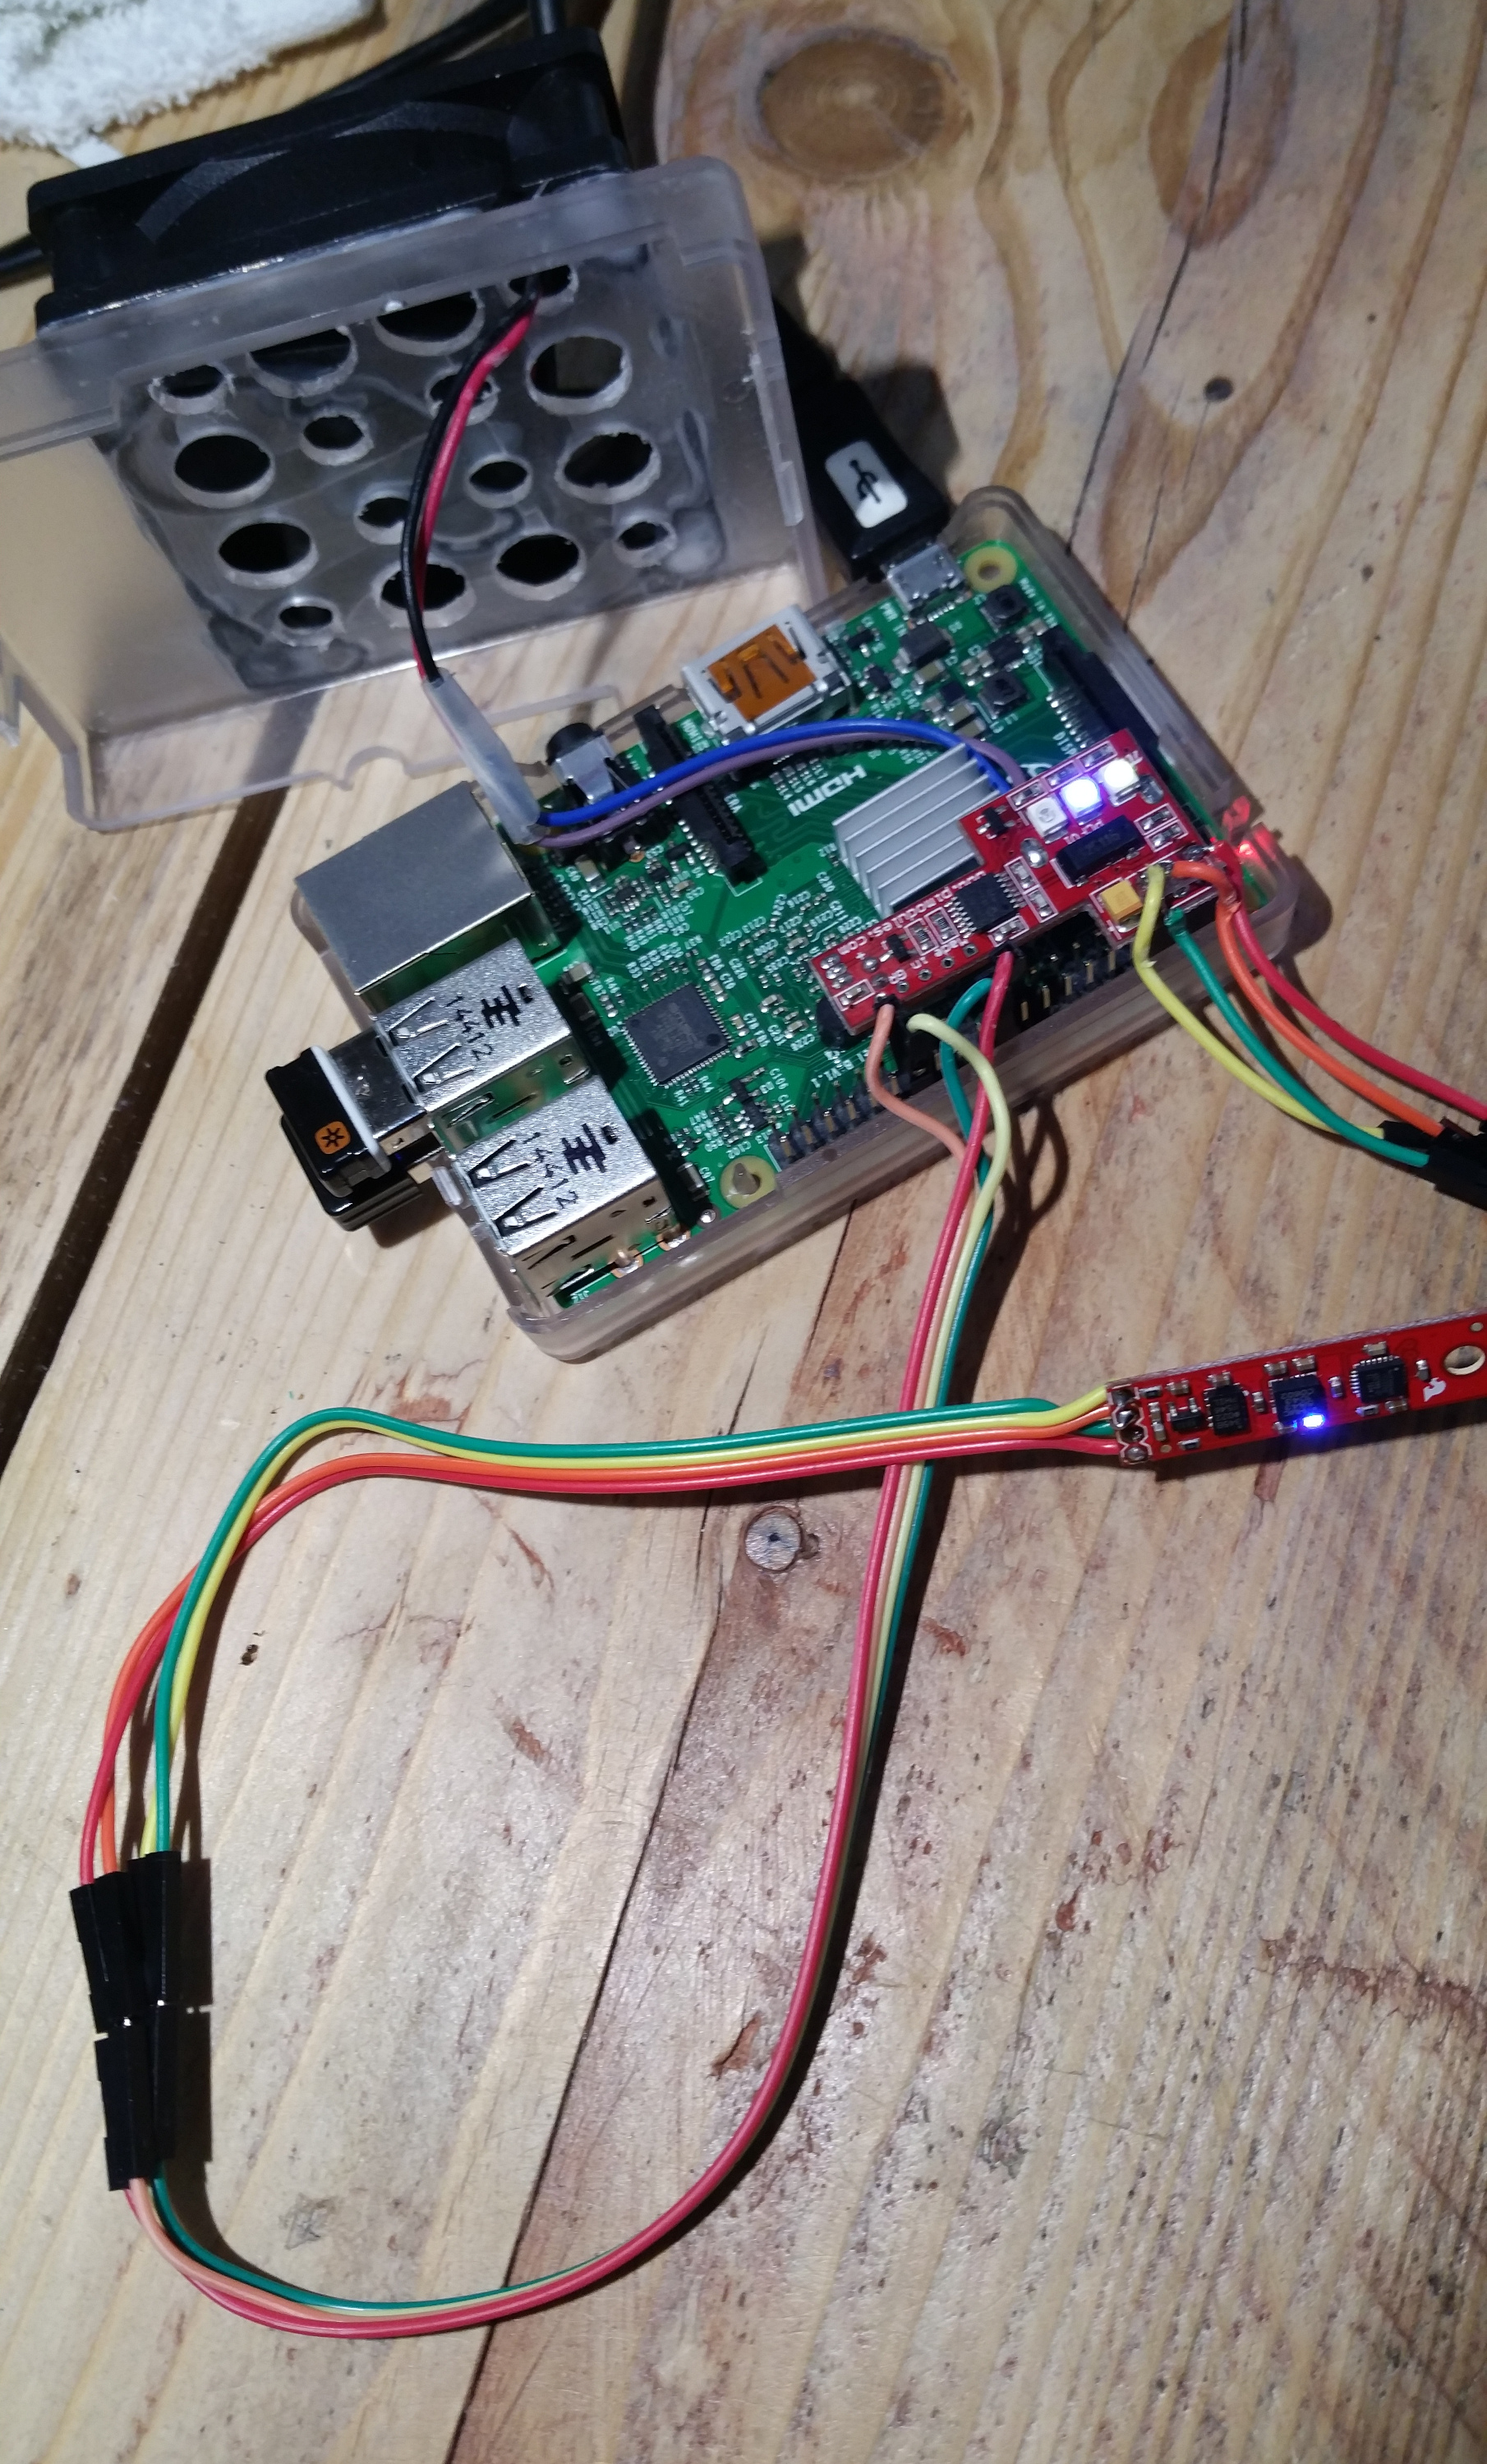 Here’s the complete setup. As you can see, I first tried to connect to the same I2C bus as the RTC/fan –the wires on the right–, before I discovered the address collision using i2cdetect.
Hurdle #2: Writing some code to get actual orientation and motion values from the sensors.
The code I came up with is here. It contains a C++ wrapper for the linux I2C interface, a class for each chip and small logging program.
Hurdle #3: Calibration. The chips obviously output raw binary data that has to be converted to SI unit values for magnetic field strength, angular velocity and acceleration respectively. Some preliminary testing yielded these conversion values for this board. I would like to add some adaptive calibration since the sensors, in particular the gyro, seem to be sensitive to temperature or other external influences.
Some I2C command output on the Raspberry Pi:
$ i2cdetect -l
i2c-0    i2c           3f205000.i2c                        I2C adapter
i2c-1    i2c           3f804000.i2c                        I2C adapter

$ i2cdetect 0
WARNING! This program can confuse your I2C bus, cause data loss and worse!
I will probe file /dev/i2c-0.
I will probe address range 0x03-0x77.
Continue? [Y/n] y
     0  1  2  3  4  5  6  7  8  9  a  b  c  d  e  f
00:          -- -- -- -- -- -- -- -- -- -- -- -- --
10: -- -- -- -- -- -- -- -- -- -- -- -- -- -- 1e --
20: -- -- -- -- -- -- -- -- -- -- -- -- -- -- -- --
30: -- -- -- -- -- -- -- -- -- -- -- -- -- -- -- --
40: -- -- -- -- -- -- -- -- -- -- -- -- -- -- -- --
50: -- -- -- 53 -- -- -- -- -- -- -- -- -- -- -- --
60: -- -- -- -- -- -- -- -- 68 -- -- -- -- -- -- --
70: -- -- -- -- -- -- -- --

$ i2cdetect 1
WARNING! This program can confuse your I2C bus, cause data loss and worse!
I will probe file /dev/i2c-1.
I will probe address range 0x03-0x77.
Continue? [Y/n]
     0  1  2  3  4  5  6  7  8  9  a  b  c  d  e  f
00:          -- -- -- -- -- -- -- -- -- -- -- -- --
10: -- -- -- -- -- -- -- -- -- -- -- -- -- -- -- --
20: -- -- -- -- -- -- -- -- -- -- -- -- -- -- -- --
30: -- -- -- -- -- -- -- -- -- -- -- -- -- -- -- --
40: -- -- -- -- -- -- -- -- -- -- -- -- -- -- -- --
50: -- -- -- -- -- -- -- -- -- -- -- -- -- -- -- --
60: -- -- -- -- -- -- -- -- UU -- -- -- 6c -- -- --
70: -- -- -- -- -- -- -- --
Address 0x68 on bus 1 is the RTC and it displays UU indicating it is in use by the kernel driver as expected!.